
To makeover...or not to makeover...
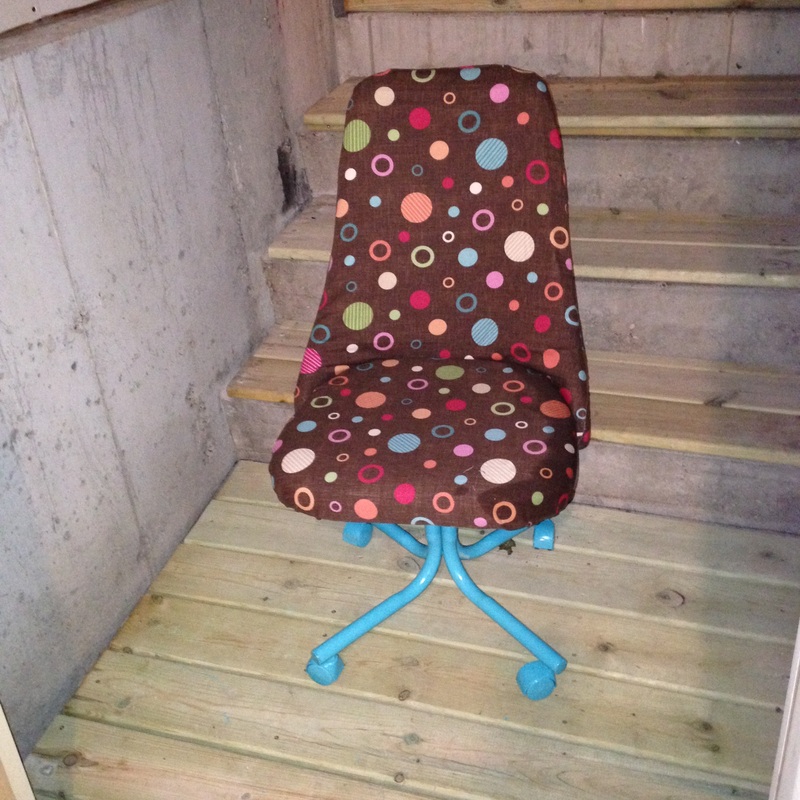
Well, there was no question when I saw this chair sitting by the road that it would be a makeover! I try not to make a habit of picking up road side items, but this one was too good to pass up. When I got home and told my husband I was taking his truck to pick up a chair from the curb he didn't even flinch. I am so lucky to have someone who supports my crazy habits. When I got back to pick up the chair, the previous owner was smiling and waving from the window...it could have just been that I looked ridiculous out in the rain picking up a chair that the owner clearly considered to be trash...or maybe she knew that it was going to be something beautiful again. I'll never know.
Alright, you want to know how to make this beauty? I am happy to share!
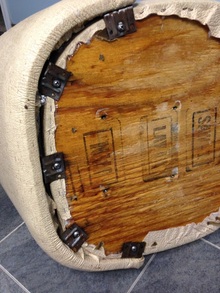
1. Take the chair apart. This chair had the wheel base with 4 screws and then the seat was attached to the back using 5 "L" brackets with screws.
Well, there was no question when I saw this chair sitting by the road that it would be a makeover! I try not to make a habit of picking up road side items, but this one was too good to pass up. When I got home and told my husband I was taking his truck to pick up a chair from the curb he didn't even flinch. I am so lucky to have someone who supports my crazy habits. When I got back to pick up the chair, the previous owner was smiling and waving from the window...it could have just been that I looked ridiculous out in the rain picking up a chair that the owner clearly considered to be trash...or maybe she knew that it was going to be something beautiful again. I'll never know.
Alright, you want to know how to make this beauty? I am happy to share!
1. Take the chair apart. This chair had the wheel base with 4 screws and then the seat was attached to the back using 5 "L" brackets with screws.
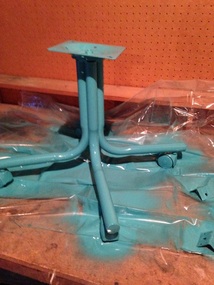
2. Next I took the base and the "L" brackets to the garage and spray painted it. I used two coats of Rustoleum. I did not sand or prime, I have never had problems with this in the past.
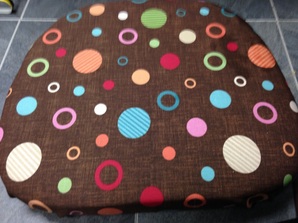
3. Once you have the chair taken apart you have two options. First option, carefully remove the old fabric, so that you can trace it for a pattern. Option two, just slice through the fabric and know that it will be a little more work later. I was really excited to see what condition the foam underneath was in...so I sliced it open and removed all the fabric.
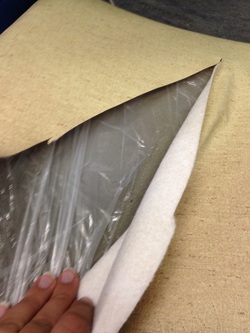
I was lucky and the foam underneath was like new! Foam is the thing that could make this project a little more costly. I was thrilled with the condition the foam was in.
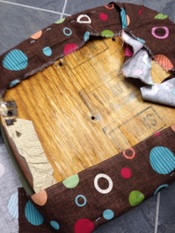
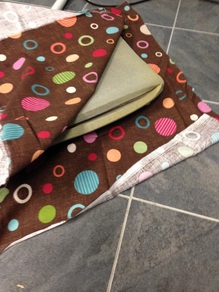
3. Once I removed all the old fabric, I covered the seat of the chair. I started with the seat, because I knew it would be easier than the back. I set the seat on a piece of fabric and cut it to size. You'll want the fabric to fold over at least an inch or two on the back. Once you have the fabric cut to size, pull tight and use a staple gun to attach the fabric to the wood part of the seat.
 |  |
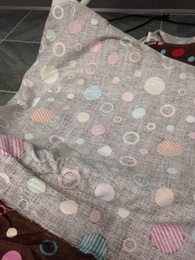
4. Now for the tricky part...the back. WARNING: You will need a sewing machine to do the back. I started by laying some fabric over the top of the chair (colorful side down) and cut it to size. Then I lay a second piece of fabric (colorful side up) under the back of the chair.
Once you have made your fabric sandwich you will pin around the edges of the chair so that it fits snug. You will want to let the top piece of fabric hug the front of the chair. Don't pull it tight.
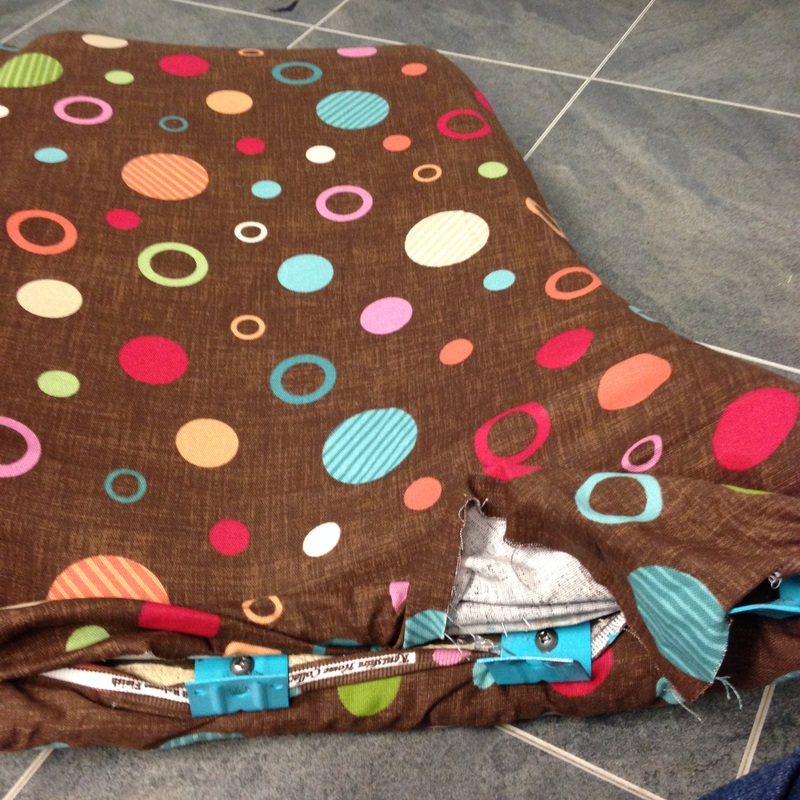
I started at the top and then worked down both sides (leave the bottom open). Next you will pull the case off the back of the chair. Keeping it wrong sides out sew around the pins. Remove the pins and turn it right side out. Slide it onto the back of the chair. If it fits, then you can trim off any extra material. Then slide it back on, it should be snug. Then you will staple the fabric onto the front side of the back.
5. Put the chair back together. Start by attaching the "L" brackets to the chair back. Then attach the chair seat. Finally you will attach the base with the wheels.
 |  |
6. Admire and brag about your beautiful new chair! Mine will be joining me on my commute to school tomorrow, where it will live for the foreseeable future in my kindergarten classroom.
Have you done a chair makeover? I'd love to see! Post a link or picture below!
Thank you for visiting. Hope you stop by again!
Have you done a chair makeover? I'd love to see! Post a link or picture below!
Thank you for visiting. Hope you stop by again!
No comments:
Post a Comment